Tag Archives: cameo

Wooden Bow-Tie

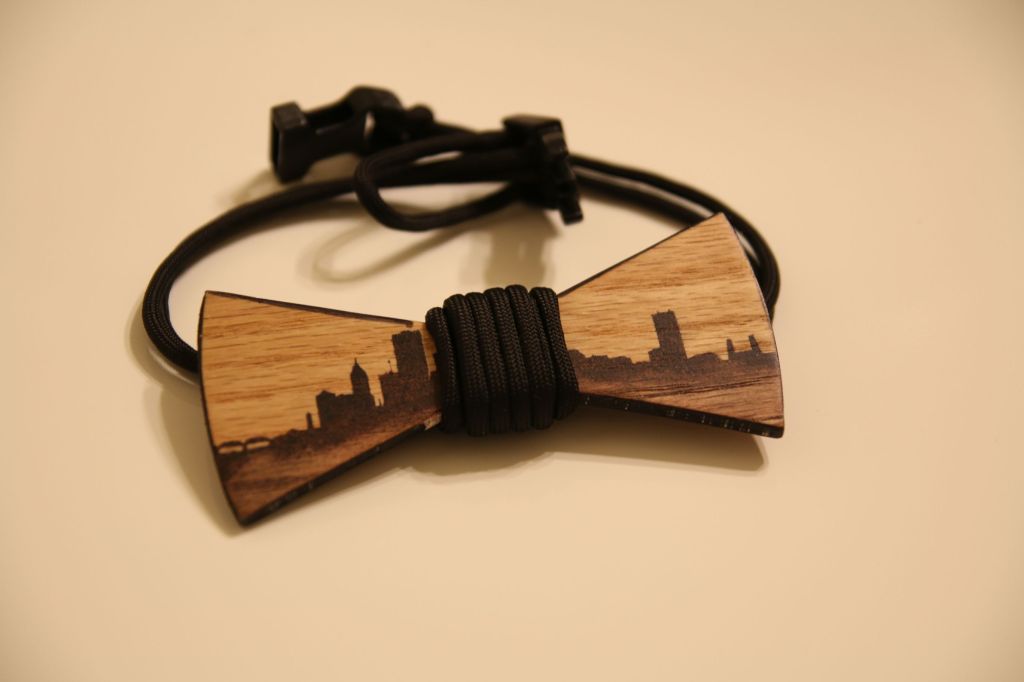
Finished Tie
fig. 1: A hasty tie

Christmas party at work, and someone had the idea of all the guys wearing a bow tie on that day.  I only have two ties, and neither of them bows, so I figured I’d either stop at Goodwill before then for one, or come up with a solution of my own to this tie problem.

Welp, the night before, I still have no bow tie.  So I got online and google “how to make a bow tie”.  I’ve got some fabric scraps around, and I could come up with something.  However, much to my delight, I see that there are some hipsters who have come up with the idea of making a tie out of wood.  Much easier for me to make a wood tie than a fabric tie.

Since I don’t have an actual tie to work with, I need to find out what the dimensions of a bow tie are (fun fact: 4.5″ x 1.75″).  Sketched out  a bow-tie shape in Illustrator, then overlaid a stylized silhouette of Portland from Google image search.  Sent the pattern to my Silhouette, pulled a thin piece of oak ply out of the scrap bin, then cut the pattern out on the band saw.

Rattle-can of black paint over the stencil, and then a light wash of wood stain.  I noticed that the wood stain started smearing the rattle-can paint, so I used that effect to have the city fade out at the bottom.  The edges of the ply are pretty light, so I used a sharpie around the outside edge.  Finish it off with a light spray of matte clear coat, and the hard part is done.

Found a scrap of black paracord I haven’t found a use for yet, wrapped it around the middle, and then put some side-release buckles on the ends.  All done!

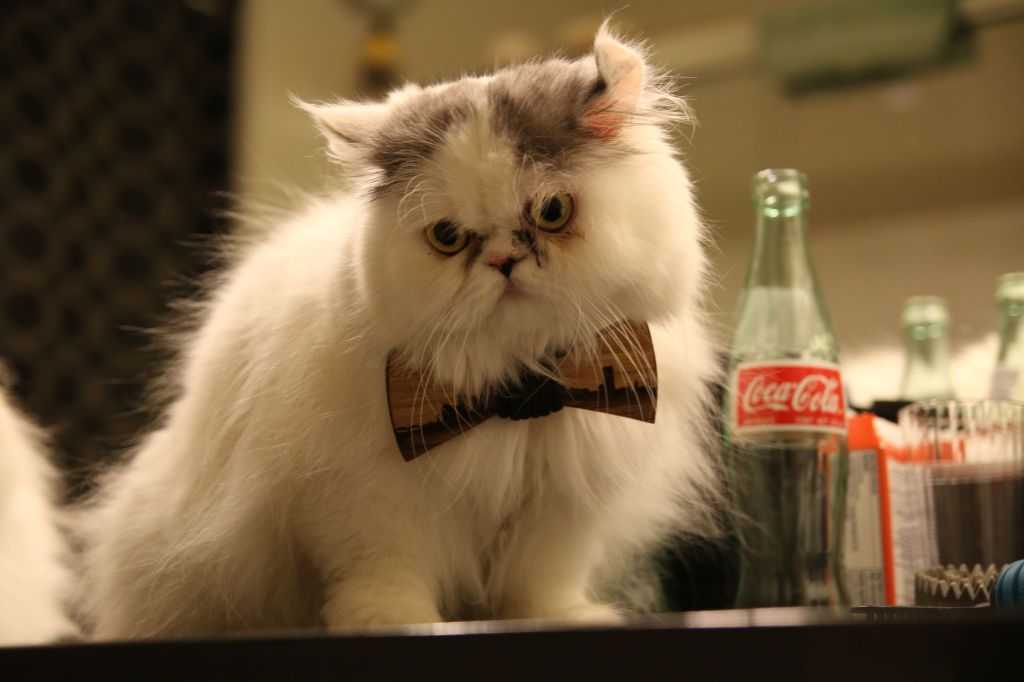
Got plenty of compliments at work about the tie, and it did look pretty alright.  But with the party over, I don’t really have a good use for the tie.  I thought about just pitching it back into the scrap bin, but I found a better use for it: The Collar of Shame.
IMG_1147
fig 2: One (1) disobedient cat experiencing everlasting shame

Lisa’s Geological Specimen Box

DSCN3895

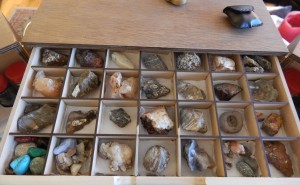
When Christmastime was rolling around, I had some gifts (almost all of them, I guess) that would require access to Schenk’s laser cutter.  But then he was called out of town at the last minute.  Oh no!  Fortunately, his wife was kind enough to allow me to stop by and finish my gifts in time for Christmas.  When I was walking out the door with my arms loaded with gift parts, I told her that I would design her something worthwhile.

The BPAL Box for Isaac’s wife Cyl.  The Needlepoint Box for Pete’s Wife Sarah.  I decided to continue the tradition of box-making tailored to the recipients specific hobby.  Something that makes them unique.  For their wedding centerpieces last year, Lisa deployed some of her finest mineralogical specimens to support the rustic, natural theme of their reception.  But visiting their home a few months later, I saw some of them in a bucket.  That just won’t do.

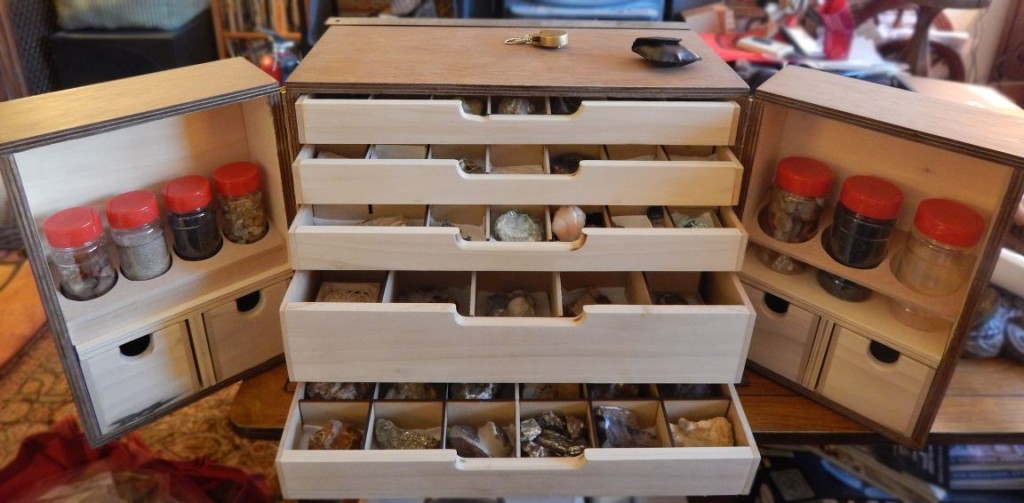
DSCN3900I doodled a couple ideas for what I wanted the box to look like.  I knew I wanted shallow sample trays, so each specimen would be easily visible and accessible.  I wanted doors on the front so that the trays wouldn’t slide out during transport.  If the doors were deep enough, I could make space for smaller containers for sands, soils, and agates, along with specimen maintenance tools like brushes and loupes.

Withe dimensions roughed out on paper, I translated the design into Sketchup so that I could get some hard numbers.

I didn’t want visible screws, so this box marked my foray into plate-joinery.  I received a plate joiner as a gift last year, but haven’t had an opportunity to use it.  The box was going to have rocks in it, and I didn’t want it coming apart when moving it.

DSCN3904The carcase is made of 1/2″ sandeply joined with biscuits, and the trays are Poplar fronts with 1/4″ MDF joined using my 17-gauge pin nailer.  After assembling the third tray, I finally got the idea that the MDF wouldn’t split if I pinned it closer to the middle of the boards.  Better late than never.  I didn’t trust myself notching all the tray dividers on the table saw, so it was a perfect job for the laser cutter.

Each tray got a wipe-down of paste wax on the bottoms and sides for a smooth ride in and out of the box.  The drawers fit so snugly that they give a little owl “hoot” when pushing them back in; the escaping air has to pass over the tops of the sample compartments, in effect creating a type of whistle.

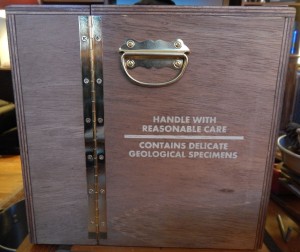
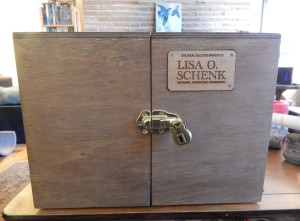
Brass hardware keeps everything together.  Even though I wanted to use nickel hardware, I was kind of forced to use brass hardware since I couldn’t find the handles I wanted in nickel.  Lisa’s keeps the collection secure with an antique brass lock.

DSCN3903The box was finished with Dark Walnut stain and two layers of semi-gloss poly.  Before applying the poly, I cut out stencils on the Cameo for each side of the box and applied a quick spray of rattlecan white.

For maximum personalization, I created a name plate so that there would be no question or confusion as to who owned the box, and what was inside.

Lessons Learned

When working with plywood, if I’m making something nice as a gift, I need to either apply edge banding to the exposed plywood edge, or paint the whole box.  I finish the plywood surface because I wanted to give a ‘finished wood’ look, but the exposed ply edges really take away from the whole aesthetic.

Also, I got to use my plate joiner for a practical project, which was fairly easy and fun.

A Cork Box for Corks

I have an Aunt and Uncle that like wine and preparing gourmet food, and when I was at their place for Thanksgiving I noticed bags of corks.  Before Christmas, I told them that if they brought some corks for me, I would make it worth their while.

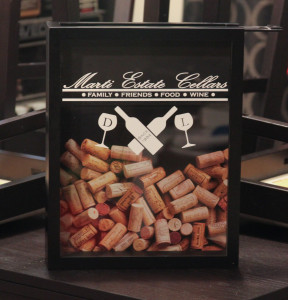
IMG_2709I picked up a plain black top-loading shadowbox at Michaels, as it was easier to just pay for one outright as opposed to having to building one from scratch (mostly didn’t want to deal with the glass cutting; plus, they’re really affordable).  I designed a logo that featured their name and their wedding year, along with their initials on the glasses.

Lessons Learned
The original plan was to cut the artwork out on the Cameo, then use some etching cream so the design would be etched in the glass.  However, I wasn’t thinking when I started weeding the contact paper and accidentally ‘inverted’ the design; the white parts of the logo would be clear, and all the parts around would be etched.  Eh, it’ll still work out.

I applied the cream, let it set for a pretty long time, then rinsed it off.  To my dismay, the etching was awful and splotchy.  I applied more cream to the bad parts, but to no avail.  I later learned that the cream isn’t good for etching large areas at once, as differences in the glass composition react to the cream differently.  The cream is much better used for stencil work.

Grabbed a new box (as I said, they’re affordable), and decided just to settle on using vinyl.  It looks pretty good, plus the white will contrast nicely over the corks when it starts to fill up.