Mom’s Terraced Planters

As always, racked my brain on what to get/make mom for Christmas.  I eventually settled on a ladder-style planter for her to grow herbs or smaller flowers, but during my research into the different types of planters, I came across a series of terrace-style planters.
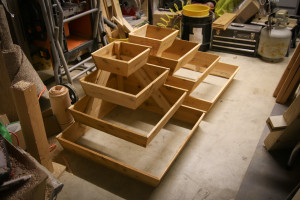
IMG_1358 I settled on making two planters that had a right-angle corner.  That way the planters could either be placed in two separate corners of the garden, or the planters could be secured together side-by-side, to make one larger terraced planter.  I didn’t know what mom’s vision for her garden had in store, so I thought versatility would be appreciated.
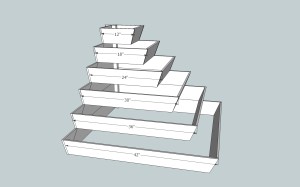
Ziggurat Planter - CornerDrew up some plans in Sketchup, and then found a calculator online to help me get the compound angles I’d need to dial into my miter saw.

Cut the planter sides out of normal cedar fence pickets that were found at the local big-box store, and reinforced the structure with a 2×2 cedar ‘spine’ at the right-angle corner.  I attempted to screw everything together, but the compound miter angles made it fairly difficult; I wound up putting long nails into my pin nailer, and just nailed the heck out of it.

My initial design had two more terraces, but before I cut the boards I ran out to the car with the tape measure.  Two of the four terrace planters would fit in my car for transport on Christmas day.  Any more terraces, and I would have to do assembly there on Christmas day.

Lessons Learned: Compound miters are really easy if you keep them to just one corner.  Also, if the cedar fence pickets were a little thicker, I probably wound have tried to use some kind of spline to help keep everything together.

I didn’t really think about it until the planters were done, but there’s a lot of wasted space in this style of planter that needs to be packed with fill dirt.  I feel kind of bad that in giving my mom the planters for Christmas, I also inadvertently got my old man an extra chore.
Cutting Board

IMG_1276
fig 1: The finished product

I made an end-grain cutting board for my brother a couple years ago, and I decided to make another board this year for my uncle.  But instead of end-grain, I thought I’d keep it a little simpler and just go with a normal edge-grain cutting board.

I had a Hickory board that I picked out a year or two ago that I was going to turn into bow staves, so it had straight grain and was knot free.  I also had a Purple Heart board kicking around, so I thought I’d add in a few strips of that to give it a nice contrast.

IMG_1181
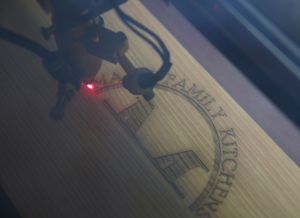
fig 2: Dynamite with a laser beam

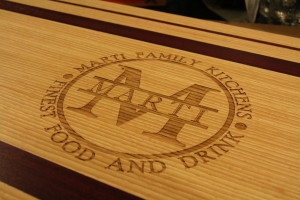
Got the cutting board glued up and planed, then hauled it over to Schenk’s for a trip through the laser cutter.

Brought it home, then started adding coats of plain old food-grade mineral oil.  Rubbed on a coat, let it sit for a few hours, then added another coat.

After a few days of adding a coat of oil every so often, I wrapped it up and gave it away as a gift.  With the monogram on one side, it can be used as a serving tray, and food or other items can be cut on the backside.

Lessons Learned: Edge-grain cutting boards are much easier than end-grain, and I not counting glue-up time, I can knock one out in a couple hours.  I just need to expand my repertoire of things to laser-engrave into them.

Wooden Bow-Tie

Finished Tie
fig. 1: A hasty tie

Christmas party at work, and someone had the idea of all the guys wearing a bow tie on that day.  I only have two ties, and neither of them bows, so I figured I’d either stop at Goodwill before then for one, or come up with a solution of my own to this tie problem.

Welp, the night before, I still have no bow tie.  So I got online and google “how to make a bow tie”.  I’ve got some fabric scraps around, and I could come up with something.  However, much to my delight, I see that there are some hipsters who have come up with the idea of making a tie out of wood.  Much easier for me to make a wood tie than a fabric tie.

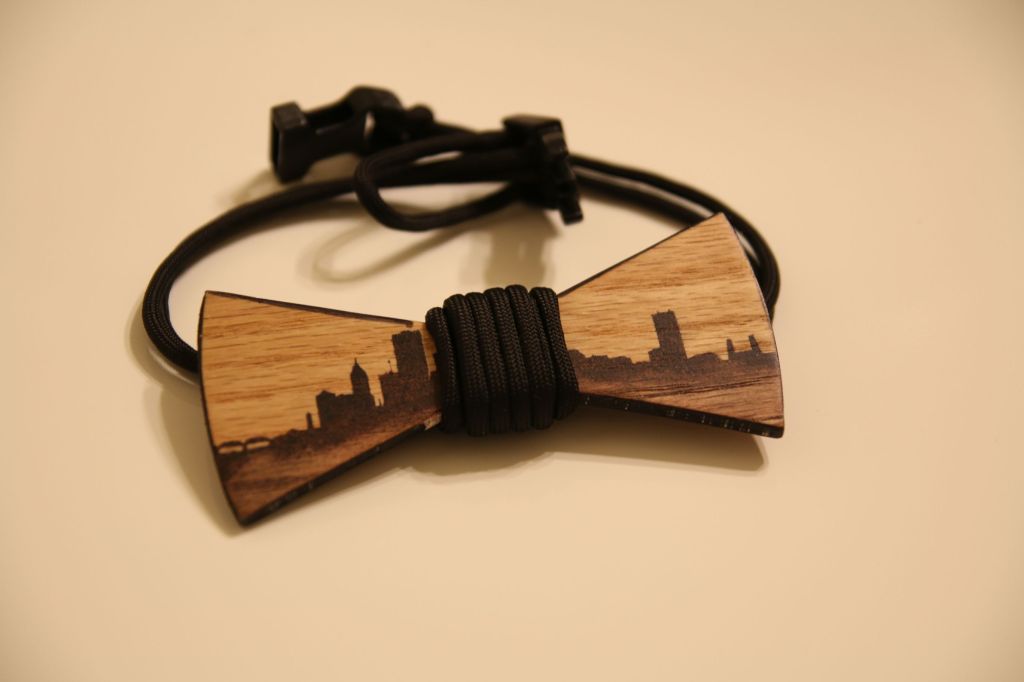
Since I don’t have an actual tie to work with, I need to find out what the dimensions of a bow tie are (fun fact: 4.5″ x 1.75″).  Sketched out  a bow-tie shape in Illustrator, then overlaid a stylized silhouette of Portland from Google image search.  Sent the pattern to my Silhouette, pulled a thin piece of oak ply out of the scrap bin, then cut the pattern out on the band saw.

Rattle-can of black paint over the stencil, and then a light wash of wood stain.  I noticed that the wood stain started smearing the rattle-can paint, so I used that effect to have the city fade out at the bottom.  The edges of the ply are pretty light, so I used a sharpie around the outside edge.  Finish it off with a light spray of matte clear coat, and the hard part is done.

Found a scrap of black paracord I haven’t found a use for yet, wrapped it around the middle, and then put some side-release buckles on the ends.  All done!

Got plenty of compliments at work about the tie, and it did look pretty alright.  But with the party over, I don’t really have a good use for the tie.  I thought about just pitching it back into the scrap bin, but I found a better use for it: The Collar of Shame.

IMG_1147
fig 2: One (1) disobedient cat experiencing everlasting shame