 Going along the theme of the Dalek-Human Hybrid Tommygun I made for Pete last year, I decided to make yet another gun for him. Only this one will hopefully be a little more recognizable to a wider audience.
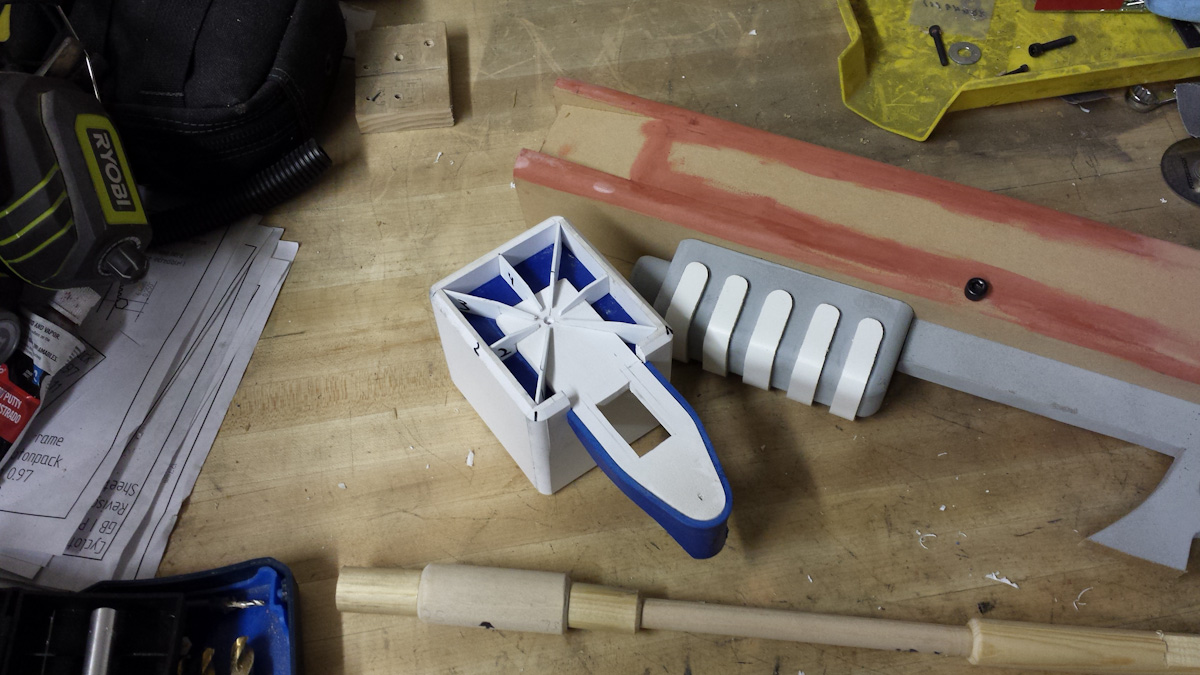 All my work up until now has been pretty much wood only. However, I wanted to work on a project that had small, curved details that would be so much easier to do if I used plastic, e.g. the front and back ends of the barrel, and the fore grip.
Fortunately, I’m not the first person to make an AER-9, so I had the luxury of standing on the shoulders of giants. Notably Volpin Props, who meticulously detailed every step of the construction of his own rifle.
 Schenk was out of town for work, so I didn’t have access to the laser cutter. I had to cut out all the tiny pieces by hand. I also used spray adhesive to fasten a printout of the gun stock to a sheet of MDF, and then cut it out on the bandsaw. I guess this is how cavemen used to do it in ancient times?
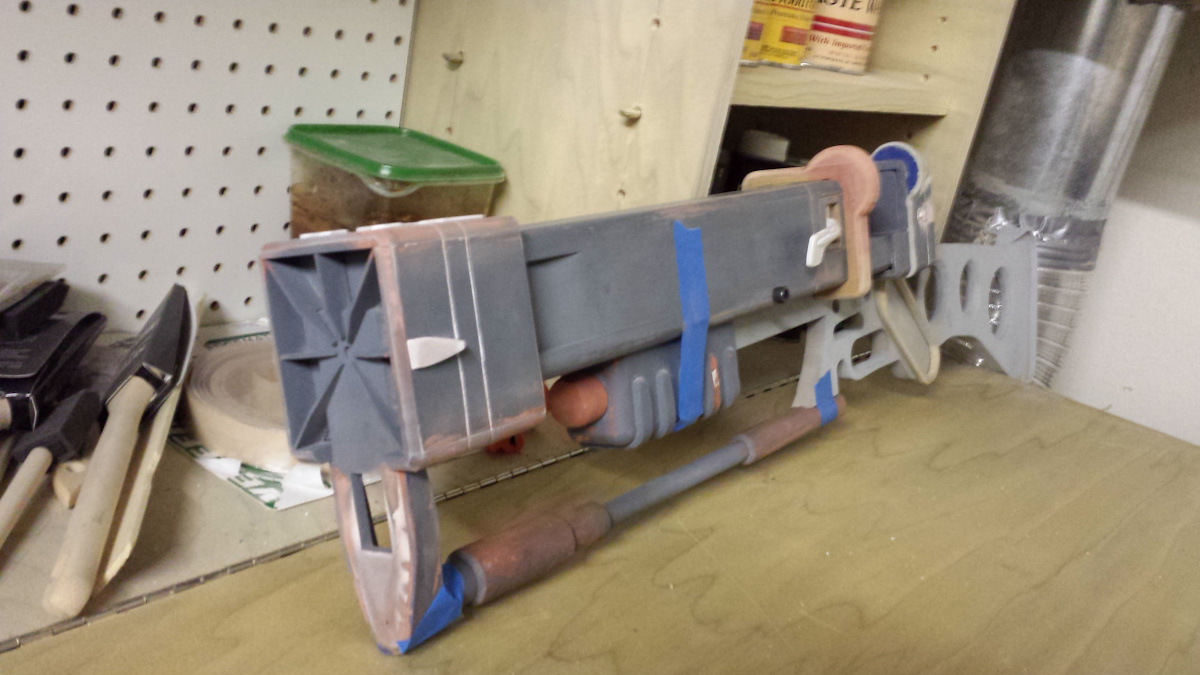
 I used a liberal amountof spot-putty on the project. It’s great for smoothing over seams and gaps, and sands super smooth. I also used a special type of ‘filler’ spray paint on the stock part of the rifle. The MDF acts like a sponge when painting, and I wanted a smooth metallic look on the finished product. I didn’t see that happening on the edge surfaces of the MDF.
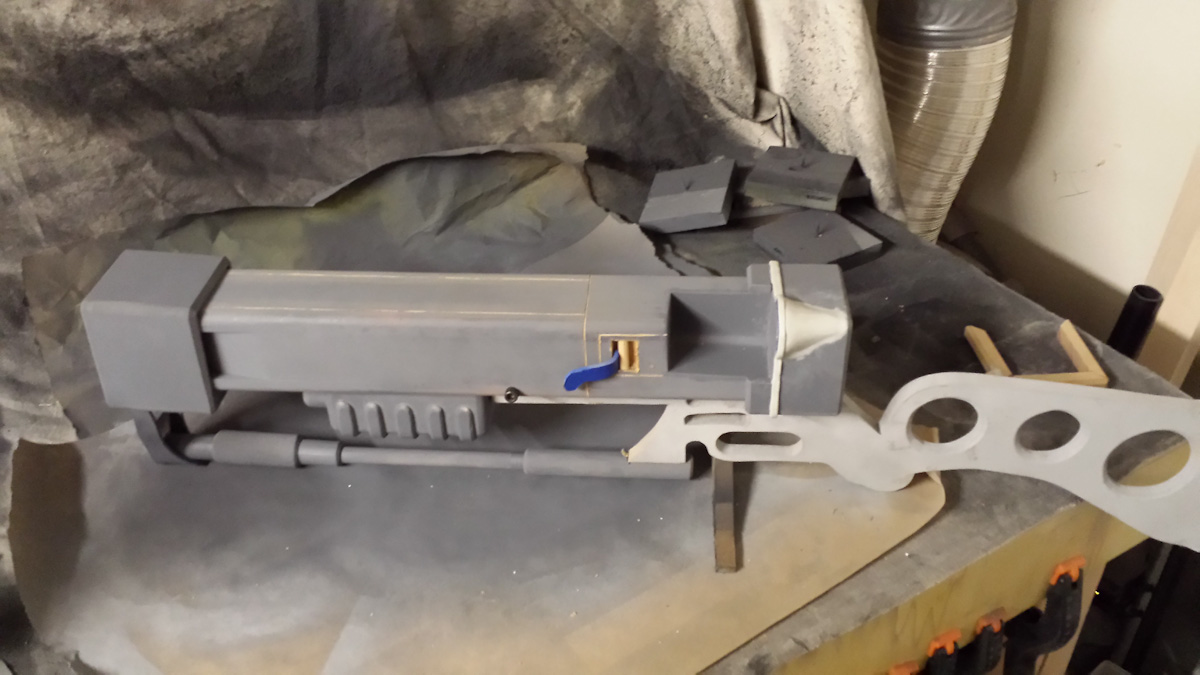
 I also picked up a product called Magic Sculpt from TAP Plastics here in town, which is a handy two-part epoxy clay. I was able to mold it to the part where the power cell attaches to the barrel, and it dries as hard as you would expect epoxy to. It’s kind of expensive, but because it’s a two-part mix, I wind up using less of it than I’d expect. The two Play-Doh sized containers I got will probably last me a decade.
The power cell gave me a good reason to visit the grandparents. Grandpa got a lathe as a retirement gift long ago, and hasn’t seen much use lately. Also, the only other people I know with lathes have metal lathes. Anyway, modeled up the power cell in Solidworks and printed it out 1:1 scale. I could then use calipers to compare what I had spinning on the lathe to what I wanted to have spinning on the lathe.
The bottom support rod was made from dowels that I drilled out and chained one to another. In hindsight, I probably should have just carved the whole thing out on the lathe in one piece. It would have been a lot more sturdy, should the gun come down hard on something.
 I saw a few ideas online for the top tube of the rifle. One person used steel tubing, another used an acrylic rod. While walking through Home Depot, I realized I could just use Pex. Pex is a modern plastic tubing used in houses for water pipes. It’s fairly bendy, so you don’t have to wrestle around with elbows and couplers during house construction like you have to for copper pipe. A zap from the heat gun, and it retained its new shape fairly well.
I’ll be sure to update this post in the future when I get pics of the finished gun showing the decals and weathering.